How to add a product to your storefront
Bask enables you to provide patients both Over-the-Counter (OTC) and Prescription (Rx) products. In addition, you can also provide non product based treatment like therapy, advice and more. See here. You can add products to your storefront by following the steps below.
Understanding the difference between the two types of treatment options is important to ensure that you are providing the best possible care to your patients. Bask has created a guide to help you understand the difference between OTC and Rx products.
To start, an OTC product is a product that can be purchased without a prescription. An Rx product is a product that requires a prescription from a licensed medical professional. Bask has licensed medical professionals on staff to provide your patients with care, or you are free to use our EMR system if you already have a network of licensed medical professionals.
Over-the-Counter (OTC) vs Prescription (Rx) Products
The most common OTC product is
Some examples of over-the-counter products are:
Treatment Types
From here, you also want to decide on the type of conditions you are looking to treat.
For example, some of the most common types of treatment to provide are:
- Eyelash Enhancement
- Erectile Dysfunction (ED)
- Hair Loss
- Acne
- Skin Rejuvenation
- Hair Removal
- Skin Tightening
- Cold Sores (Genital Herpes, Oral Herpes)
- Weight Loss
- Fertility
- Skincare
- Hyperhydrosis (Sweating)
- Performance anxiety (Stressful Situations)
- Insomnia (Sleep)
- Smoking Cessation
- Alcohol Cessation
- Birth Control
- Premature Ejaculation (PE)
- Urine Tract Infection (UTI)
Some examples of prescription products are:
Some examples of non product based treatment options are:
Adding a Product
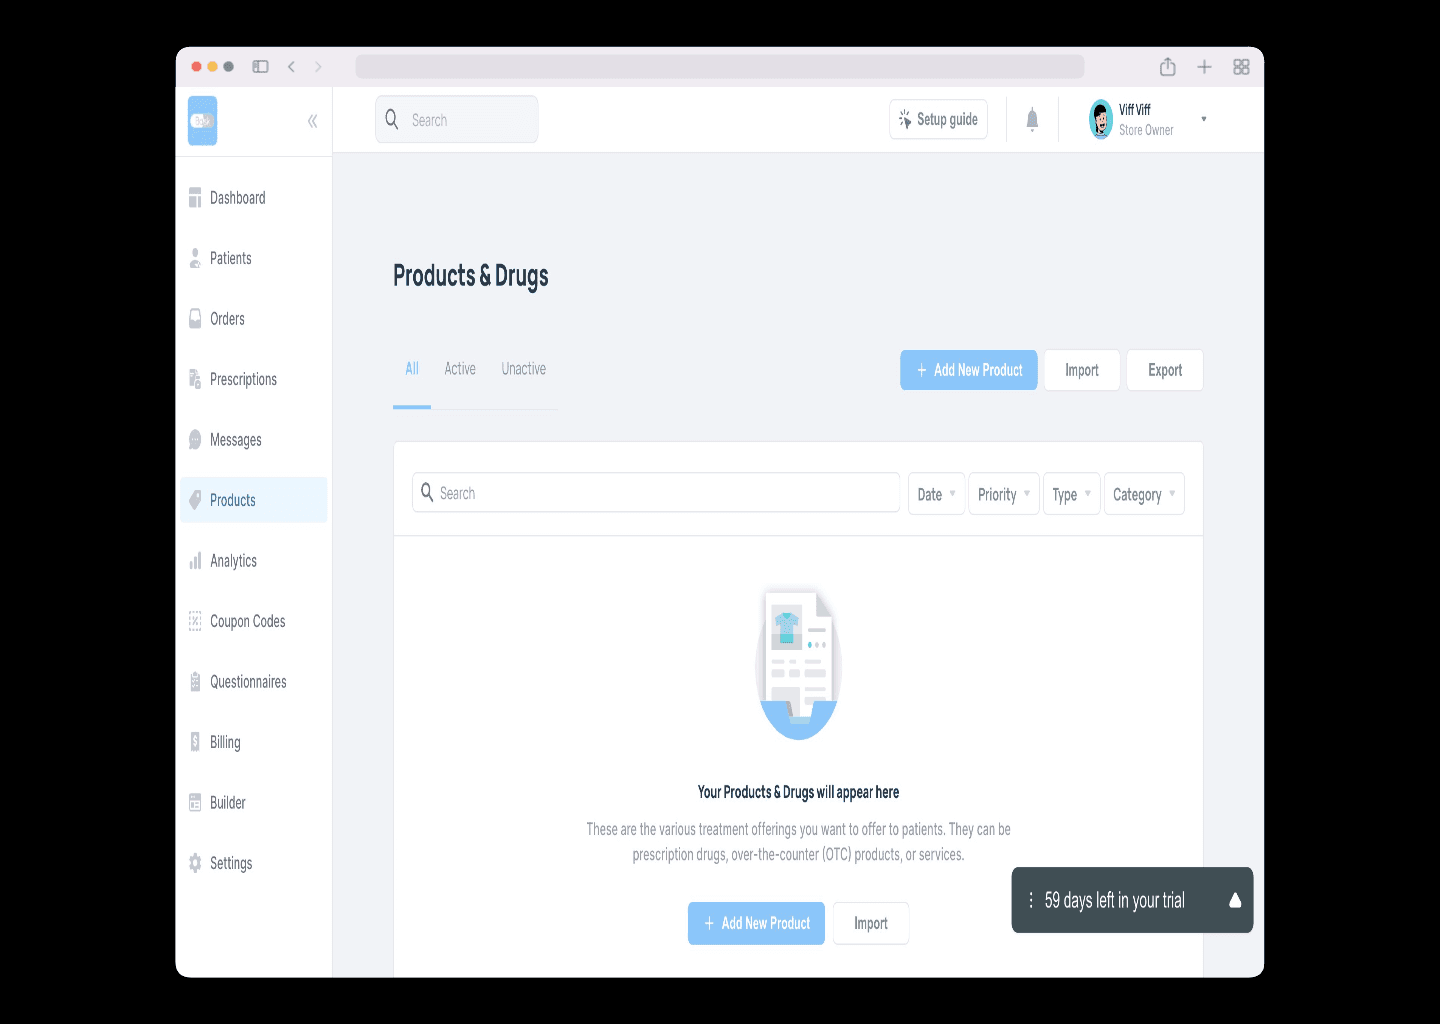
- Go to the Products tab in the left sidebar and click on the Add Product button.
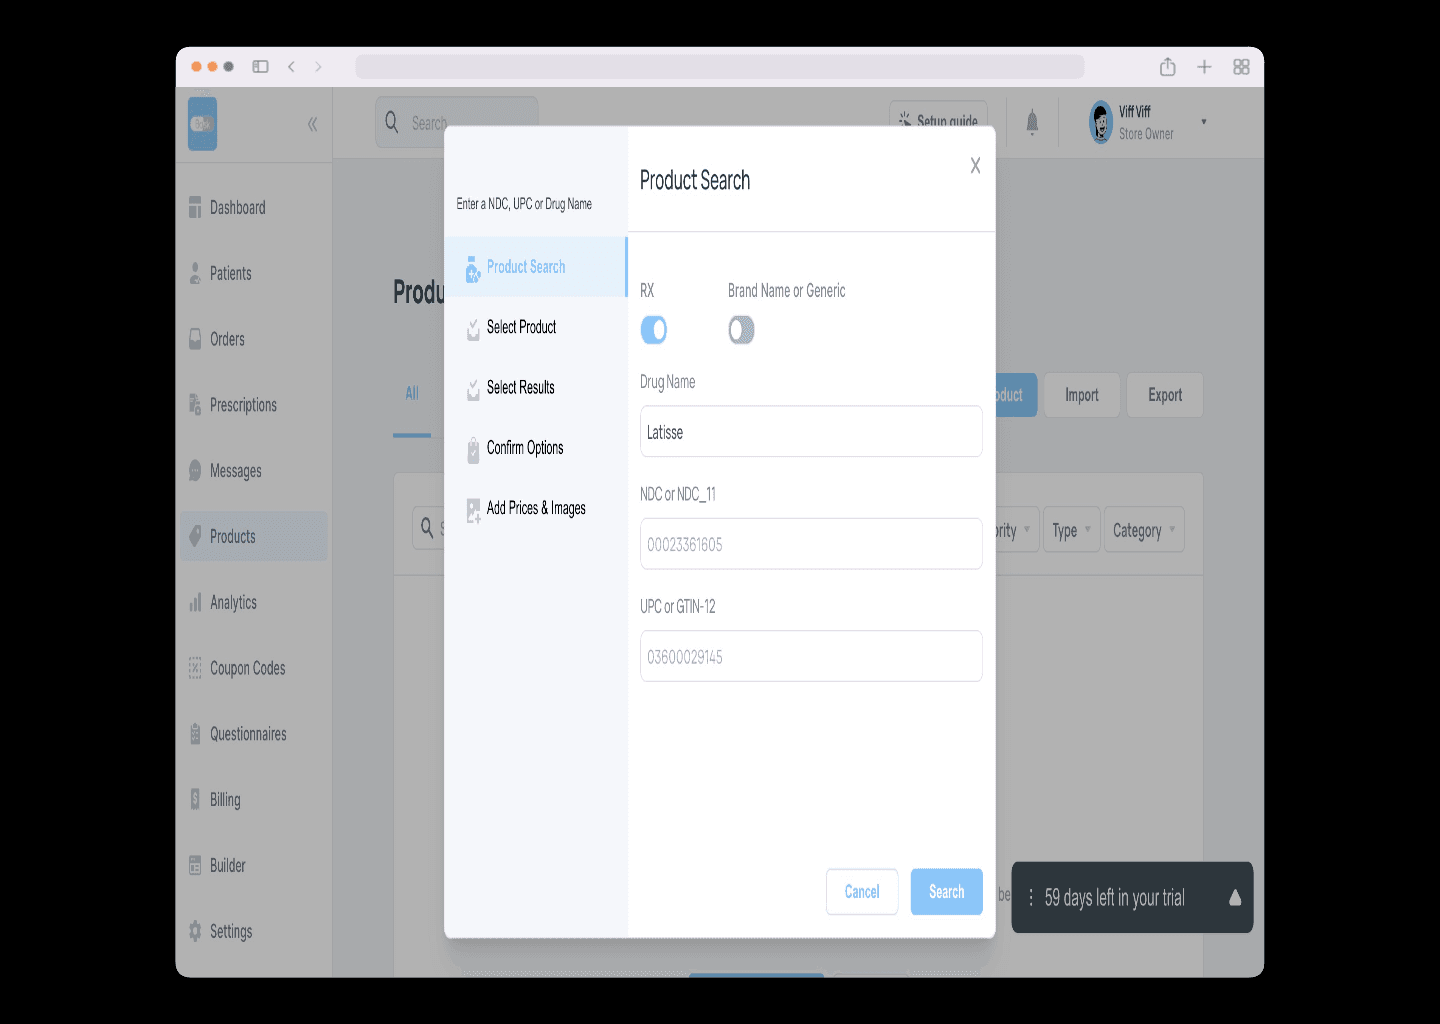
- Enter either the product name or NDC or UPC code of the product you want to search. And then click Search button.
- List of the search results will be displayed. Select the product you want to add to your storefront.

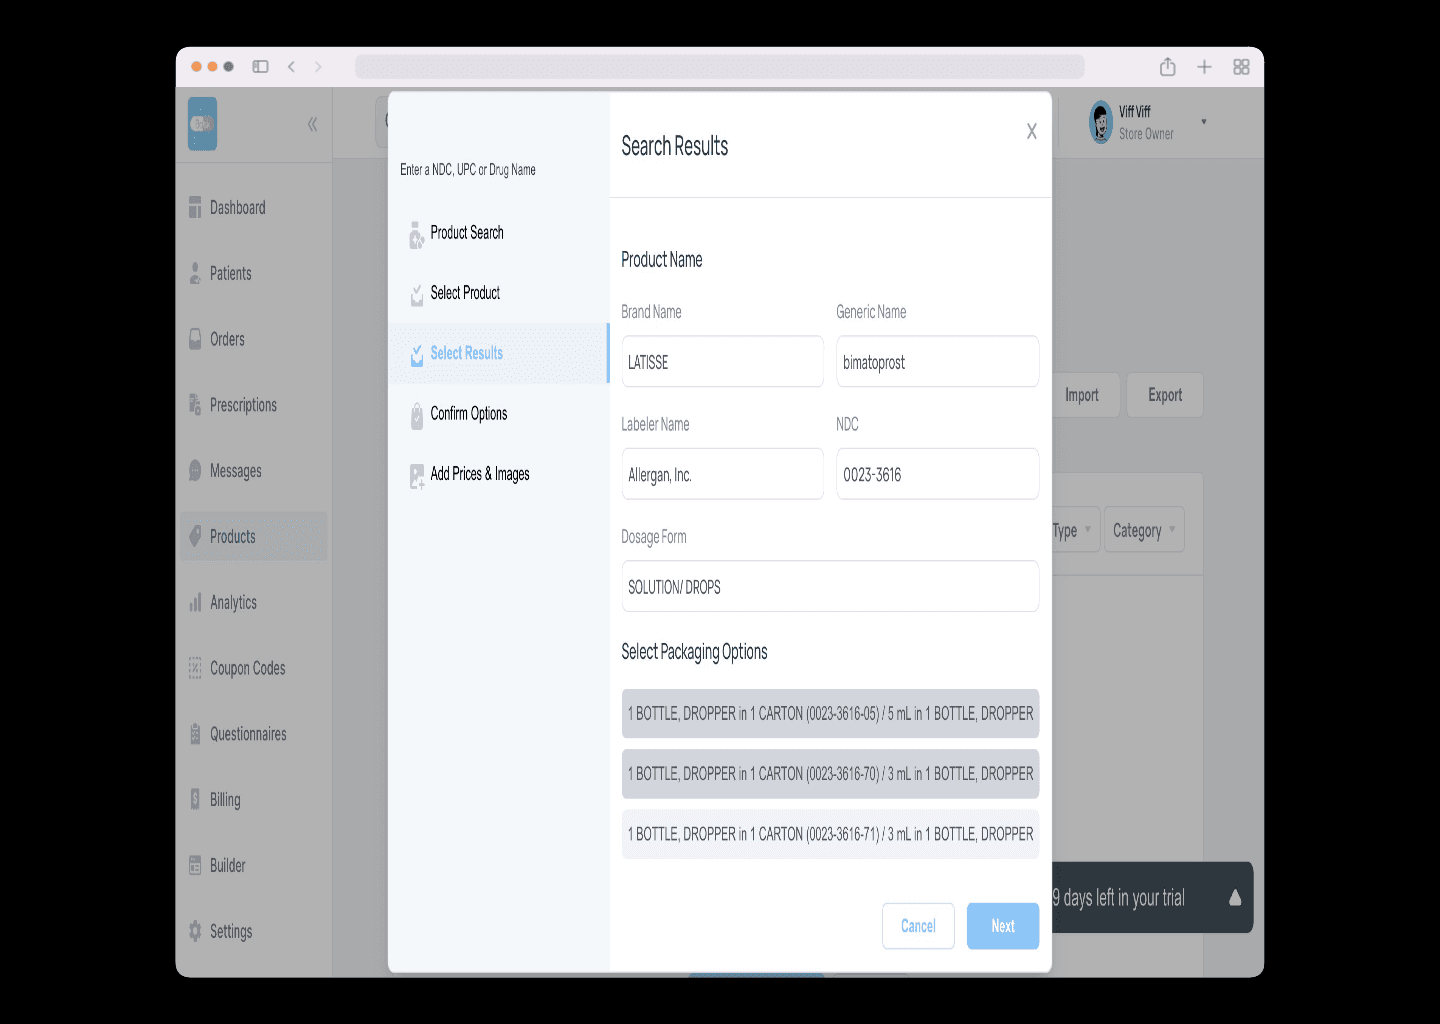
- Selected product general details will be displayed and you can select the packaging options by clicking on the required packaging option. Once selected click Next button.
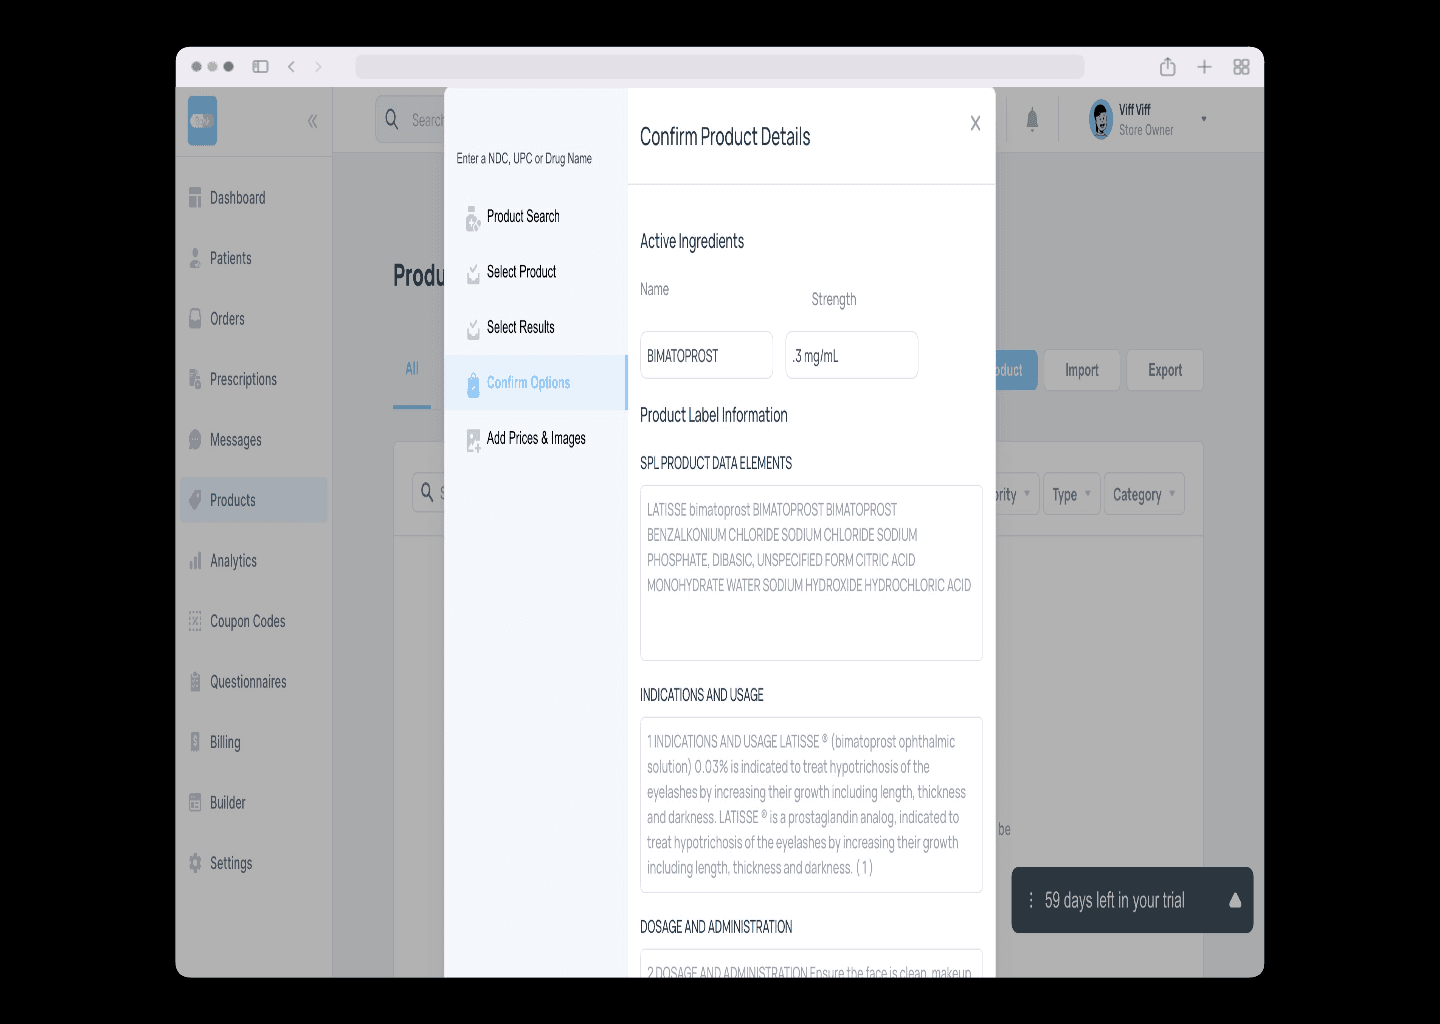
- Here the products Active Ingredients along with all the product label information will be displayed. After checking details click Next button.
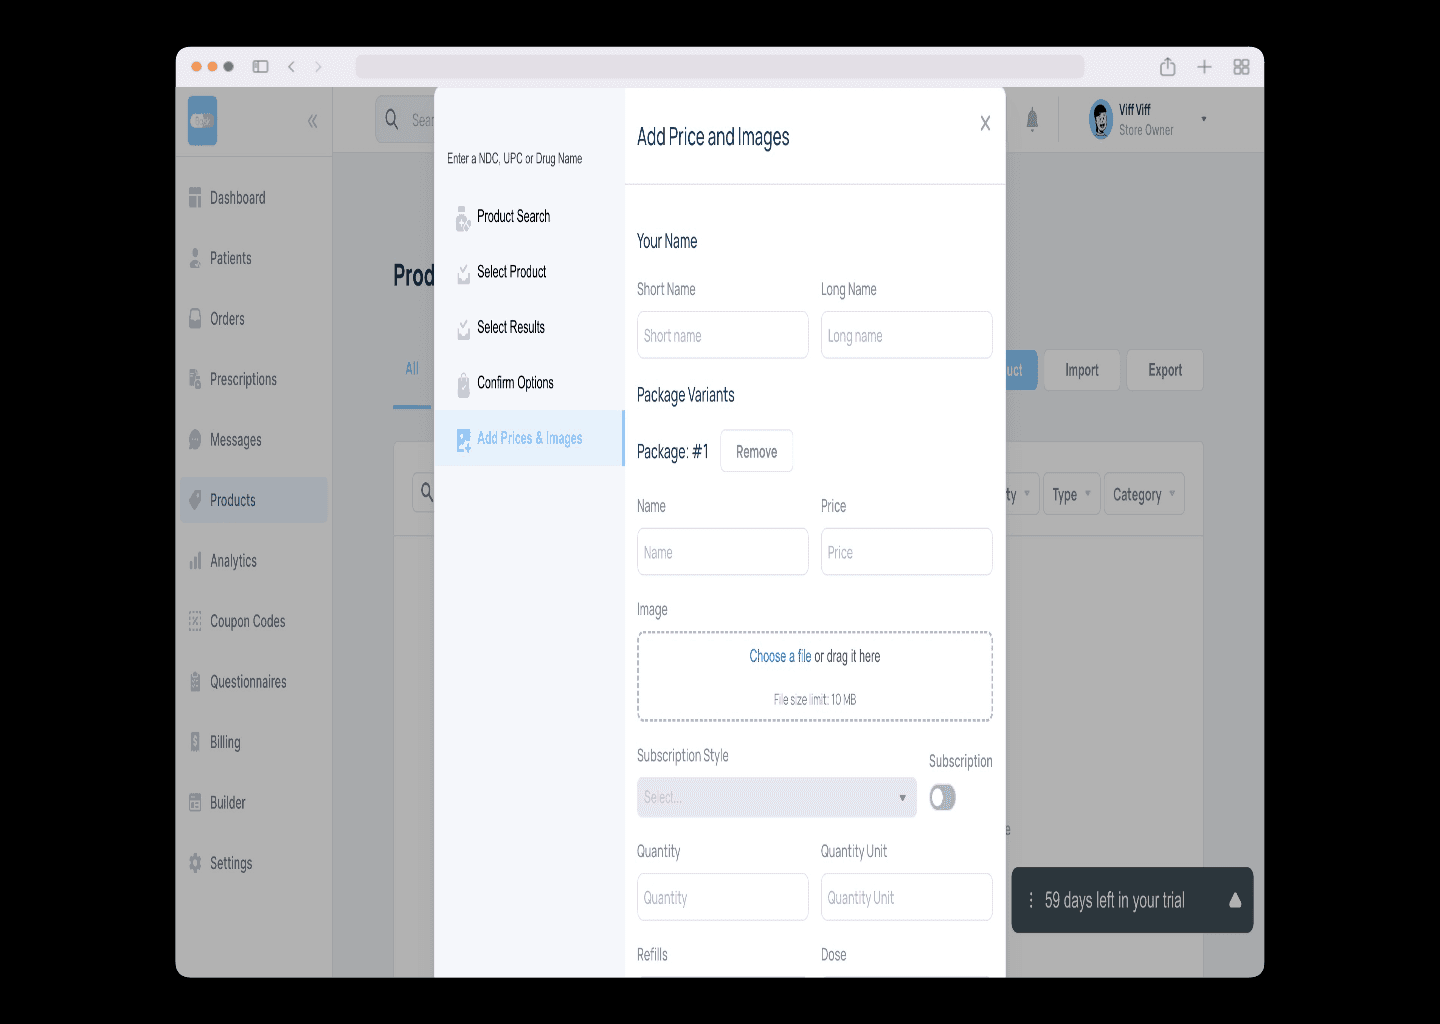
- Last section is to add the images and prices of the product. Here you can add the name for the product, along with the prices, images and variants(Click Add Variant button to add a variant).
